Wallpaper Install
September 2017
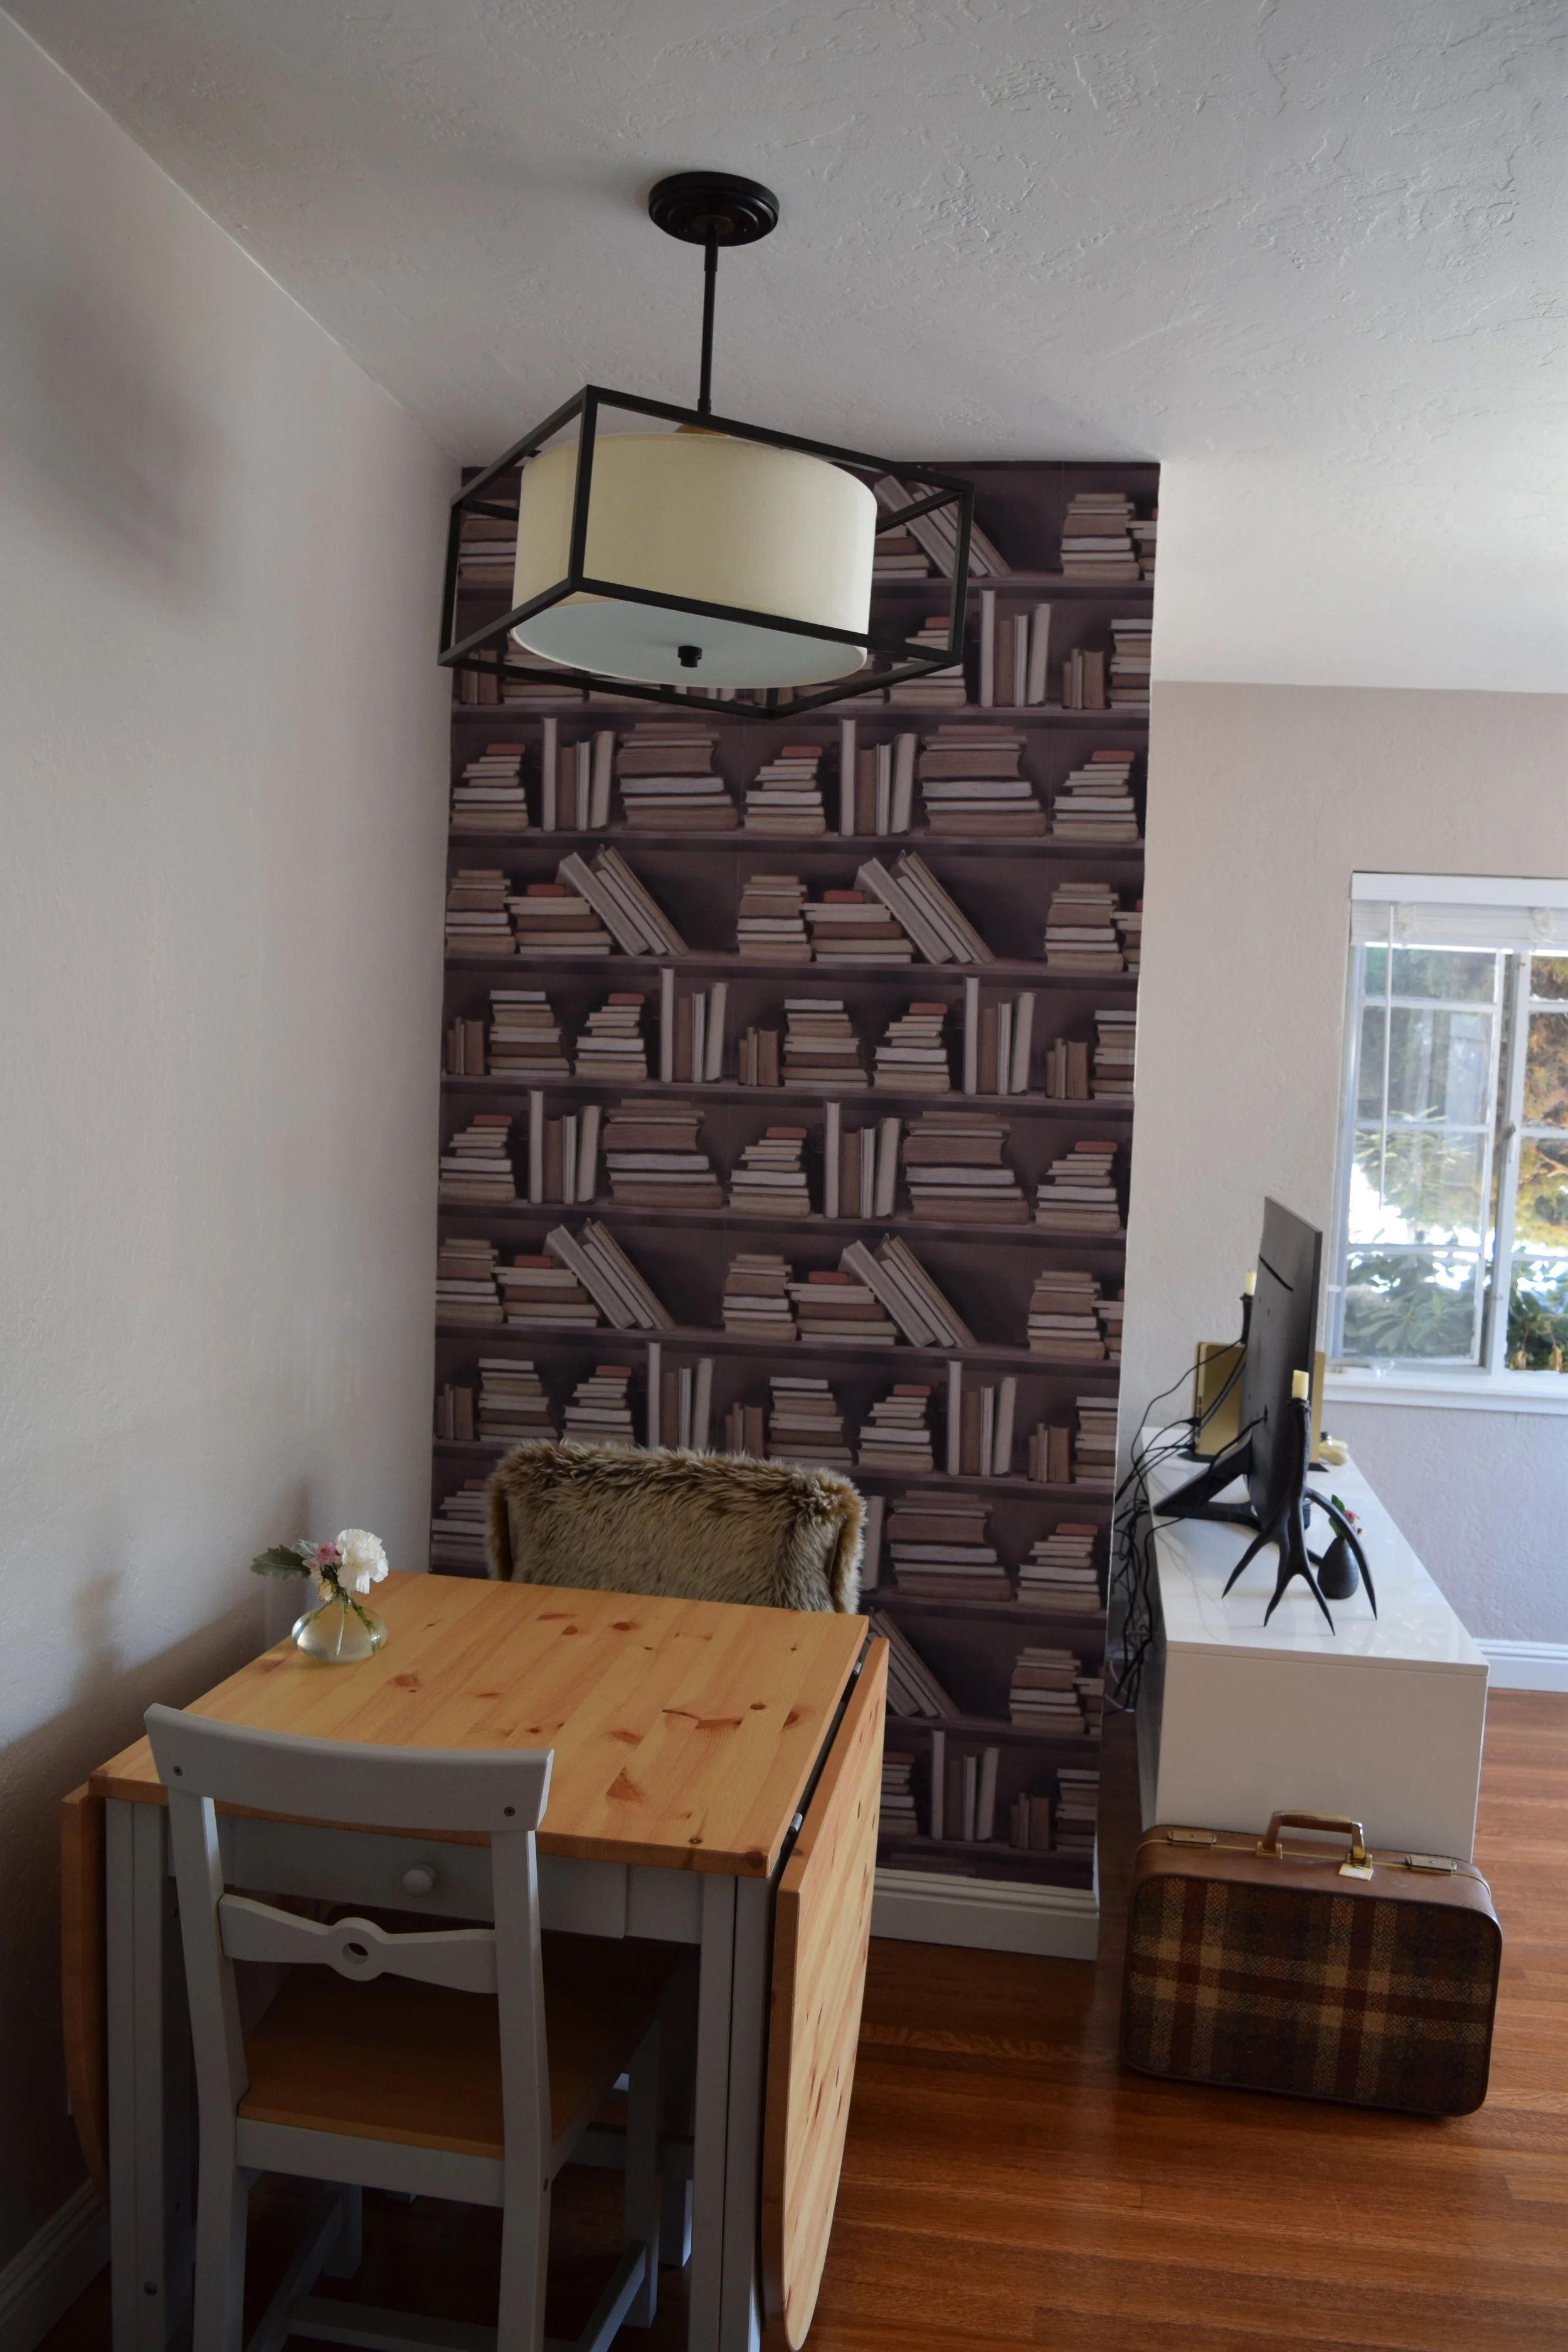
Minehart's "Vintage Bookshelf" Wallpaper: http://www.mineheart.com/vintage-bookshelf-wallpaper/
Protecting the furniture and floor
Joint compound spread onto the wall to try and smooth the surface
I was not sure how thick the layer needed to be. From the side of the wall was worried that the layer may be to thick. It was also pretty uneven.
Here you can also see how rough and uneven the joint compound is. There was a lot that had to be wet-sanded.
This is what regret looks like. I asked myself a lot of questions during this time. Did I do enough research when I was trying to learn how to smooth a wall? Isn't this supposed to be the easiest part? It looked so easy when I watched a professional spread joint compound onto a wall in that YouTube video. What if this doesn't work? Why am I trying to do this by myself? What if the wall never really becomes smooth and the wallpaper won't adhere to the wall? Did I buy the right tools? Should I have mixed the joint compound myself instead of buying the pre-made stuff?
Before sanding
After wet-sanding
Before sanding
Wet-sanding helped a lot, but the wall still wasn't as smooth as I was hoping it would be
At some point during sanding I felt like I was removing most of the joint compound I worked so hard to apply to the wall!
Not a perfect job, but I hoped it would be good enough.
Painted primer onto the wall. I don't know if this was necessary or not, but I wanted to do it anyways to be safe.
Side view of the wall -- I was able to smooth most of the joint compound at least.
Laying out the three rolls to see what the pattern will look like!
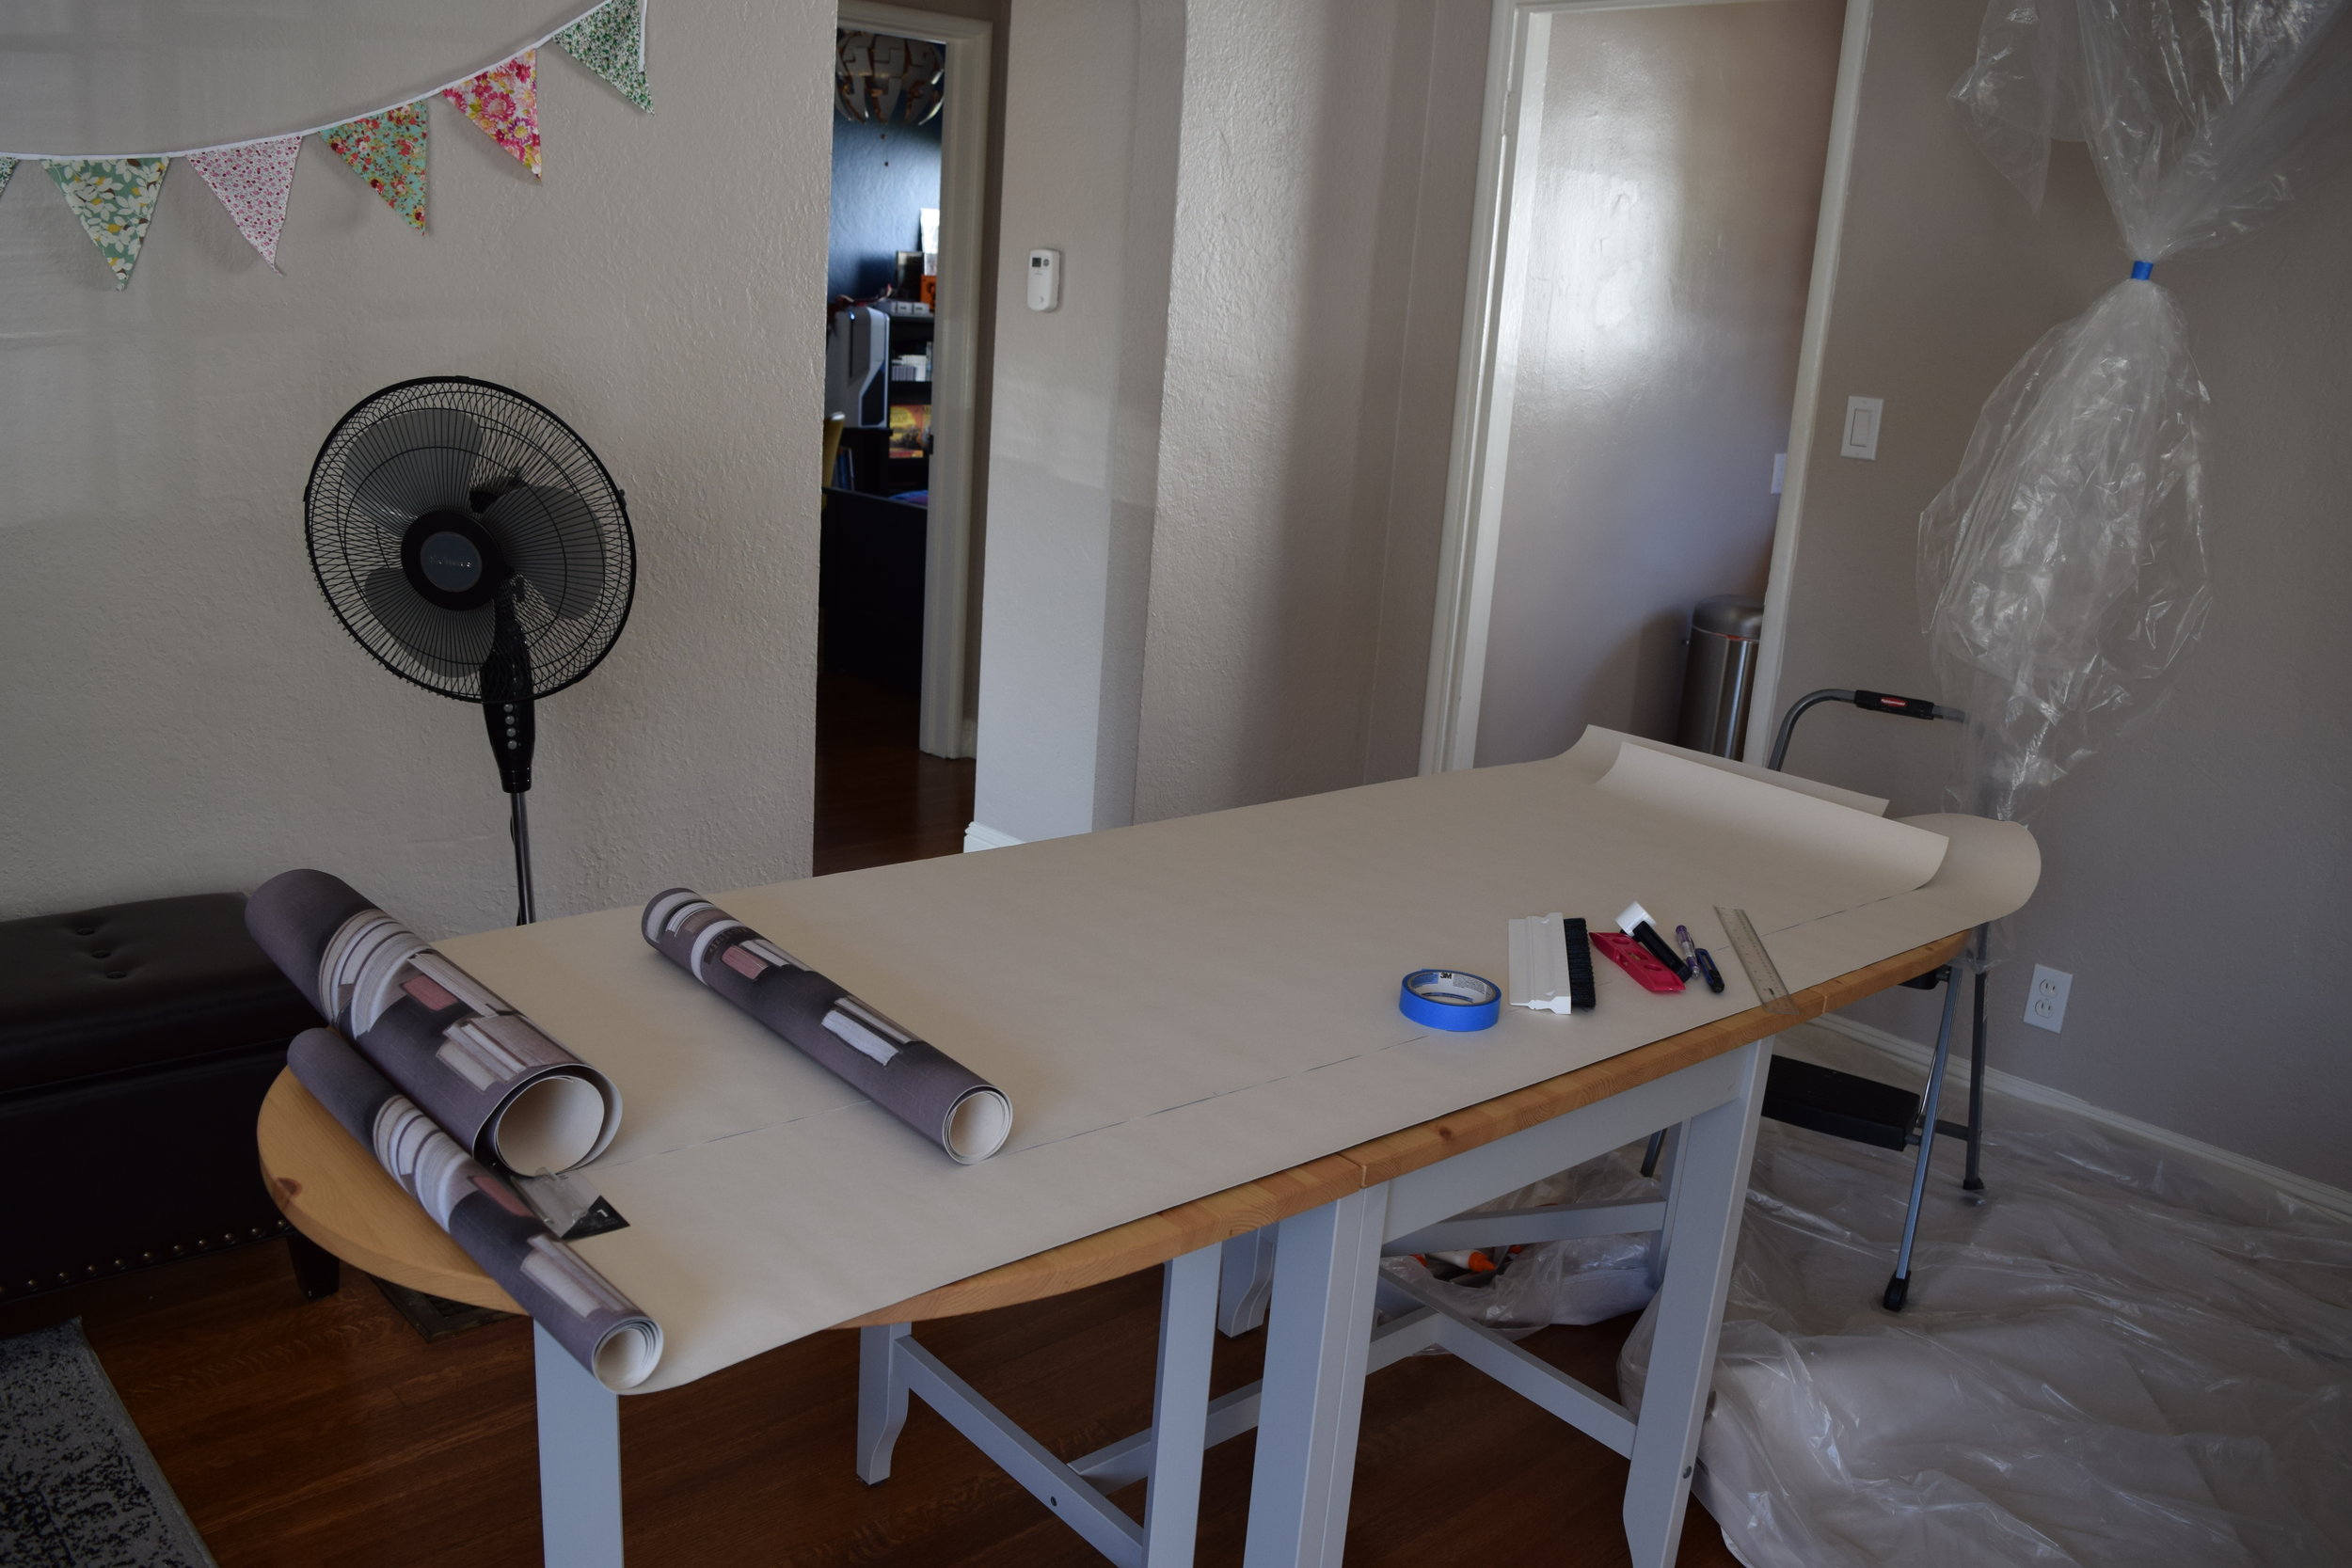
Laying out the wallpaper for booking. This would have been a lot easier if I had a larger dining table.
I don't know what the consistency of my adhesive solution was supposed to be like. The wall and the back of the wallpaper just did not feel sticky enough. I had to paint Elmer's glue directly onto the wall and also the wallpaper just to feel confident enough that the wallpaper wouldn't peel off of the wall!
Booking the wallpaper


